 how-to
How to Get Accurate Roof Reports for Commercial Construction
Last Updated: October 25, 2026
Quick Summary
Accurate roof reports for commercial construction must state total roof area and pitch per section, plus linear footage for ridge, hip, valley, eave, rake, and headwall. We build these reports from drone imagery and deliver them with square footage and edge measurements within 24 hours.
- Materials are sold by the roofing square, 100 square feet of finished surface.
- A single total area with no per-section breakdown is a red flag.
- Plan on a waste factor of roughly 10% for simple roofs and 15% or more for complex roofs.
- Divide large roofs by structure, then by section, and measure every edge type per section.
- We are FAA Part 107 certified and fully insured, using equipment like the DJI Air 3S.
Table of Contents
- What a Commercial Roof Measurement Report Must Include
- How to Read a Roof Measurement Report Template Before You Bid
- Aerial Roof Measurement Accuracy: What Drone Data Can and Cannot Tell You
- What Belongs in a Drone Roof Inspection Report
- Step-by-Step: Turning Report Data into a Defensible Takeoff
- Measurement Workflows for Commercial Buildings and Multi-Structure Sites
- Request a Free Quote for Your Next Roof Report
- Frequently Asked Questions
What a Commercial Roof Measurement Report Must Include
A commercial roof measurement report records total roof area, roof pitch, and every linear edge measurement a contractor needs to price a job without climbing a ladder. At Lake County Aerial Solutions, we build these reports from drone imagery. Miss a core section and your bid carries risk you did not price.
Square Footage, Pitch, and the Roofing Square
Total roof area is the headline number, but it means nothing without pitch. Materials are sold by the roofing square (100 square feet of finished surface), and a flat roof and a steep-slope section with the same footprint produce different counts. The report must state pitch or slope per section, or your takeoff is guesswork.
Edge Measurements: Ridge, Hip, Valley, Eave, Rake, and Headwall
Edge measurements are the linear footage along every boundary and break in the roof plane. These drive flashing, trim, and labor:
- Ridge: the top horizontal line where two slopes meet
- Hip: a sloping external edge where two planes meet
- Valley: the internal channel where two slopes converge, the most leak-prone line on any roof
A report that gives square footage but skips valleys and headwalls leaves you guessing on the two details that most often blow a materials budget.
Here are the core elements a commercial roof measurement report must contain, and what each one drives in your takeoff. For a deeper walkthrough, see how to get accurate roof measurements.
| Report element | What it covers | What it drives |
|---|---|---|
| Total roof area | Headline square footage, stated per section | Roofing squares (100 sq ft of finished surface) |
| Pitch or slope | Noted for every roof section | Material counts; flat and steep sections differ |
| Ridge | Top horizontal line where two slopes meet | Ridge cap, ridge vent, hip-and-ridge accessories |
| Hip | Sloping external edge where two planes meet | Hip cap and flashing; cut geometry |
| Valley | Internal channel where two slopes converge | Valley flashing, underlayment width, higher waste factor |
| Eave | Lower horizontal edge overhanging the wall | Drip edge, gutter length, starter course |
| Rake | Sloping gable-end edge | Rake trim, gable flashing, cut-course counts |
| Headwall | Where the roof meets a vertical wall above it | Counterflashing, base flashing, transition detail |
How to Read a Roof Measurement Report Template Before You Bid
Most roof measurement report template formats follow the same logic. Start with the summary page (total roof area, predominant pitch, roofing squares), then check the edge summary and roof feature list before you touch the estimate. The difference between a biddable report and rework is whether the template forces per-section detail and traceable source data.
Here is the checklist we would run on any report before it becomes a bid:
- Total roof area and squares stated per roof section, not just as one lump figure
- Pitch or slope noted for every section
- Linear footage for ridge, hip, valley, eave, rake, and headwall
What Each Edge Type Means for Your Takeoff
Edge measurements are not interchangeable. Each edge type maps to a different material, flashing detail, and labor assumption, so a single linear total forces you to re-measure or guess:
- Eave: drives drip edge, gutter length, and starter course; on low-slope roofs it often sets perimeter edge metal and termination detail.
- Rake: drives rake trim, gable flashing, and cut-course counts on steep-slope sections.
- Ridge: drives ridge cap, ridge vent, and hip-and-ridge accessory counts.
A report that skips valleys and headwalls leaves you guessing on the two details that most often blow a materials budget. A single linear total for all edges is only marginally better, since you still must allocate footage to the right flashing line.
Verify the Source Before You Trust the Numbers
Before a template becomes a bid, confirm three things on the source side:
- Imagery date. Imagery predating a re-roof, addition, or HVAC replacement describes a roof that no longer exists. Check the capture date against the project timeline.
- Scale and calibration. The report should show how the model was scaled (ground control points, a known dimension, or GPS-tagged imagery). Without a stated scale reference, a dimension is an assertion, not a measurement.
- Section boundaries. Confirm the section outlines match the physical breaks in the roof, not just convenient rectangles drawn on an image.
A Repeatable QA Checklist for Report Quality
Run this before the report goes into procurement or a bid package:
- Compare total roof area against the architectural footprint; flag any gap larger than the stated tolerance.
- Confirm every roof section has its own area, pitch, and edge totals.
- Spot-check two or three edge dimensions against the imagery or plan.
That log lets you defend a number in a bid review or change-order conversation, and it is the step most contractors skip under deadline.
Aerial Roof Measurement Accuracy: What Drone Data Can and Cannot Tell You
Aerial roof measurement accuracy depends on image resolution, flight overlap, and how the model handles obstructions. High-resolution drone mapping captures dimensions to a tight tolerance on clear roofs, but it cannot see through a tree canopy, measure under a dense HVAC cluster, or confirm a soft membrane is sound. For the companion case, read why aerial roof reports are essential for accurate roofing.
Tolerances, Uncertainty, and the Waste Factor
Every measurement carries uncertainty, and professional reports should state a tolerance rather than pretend to false precision. Plan on a waste factor on top of measured area: roughly 10% for simple roofs and 15% or more for complex roofs with many valleys, hips, and penetrations, covering cuts, overlaps, and defects. Skip the waste allowance and you will under-order on every complicated layout.
What Belongs in a Drone Roof Inspection Report
A drone roof inspection report should pair measurement data with visual evidence: high-resolution images of each roof section, annotated photos of damage or ponding, and figures tied to the same imagery. See our guide to drone roof inspections for property management.
We deliver roof reports with square footage and edge measurements within 24 hours, which matters when a bid deadline is close.
Step-by-Step: Turning Report Data into a Defensible Takeoff
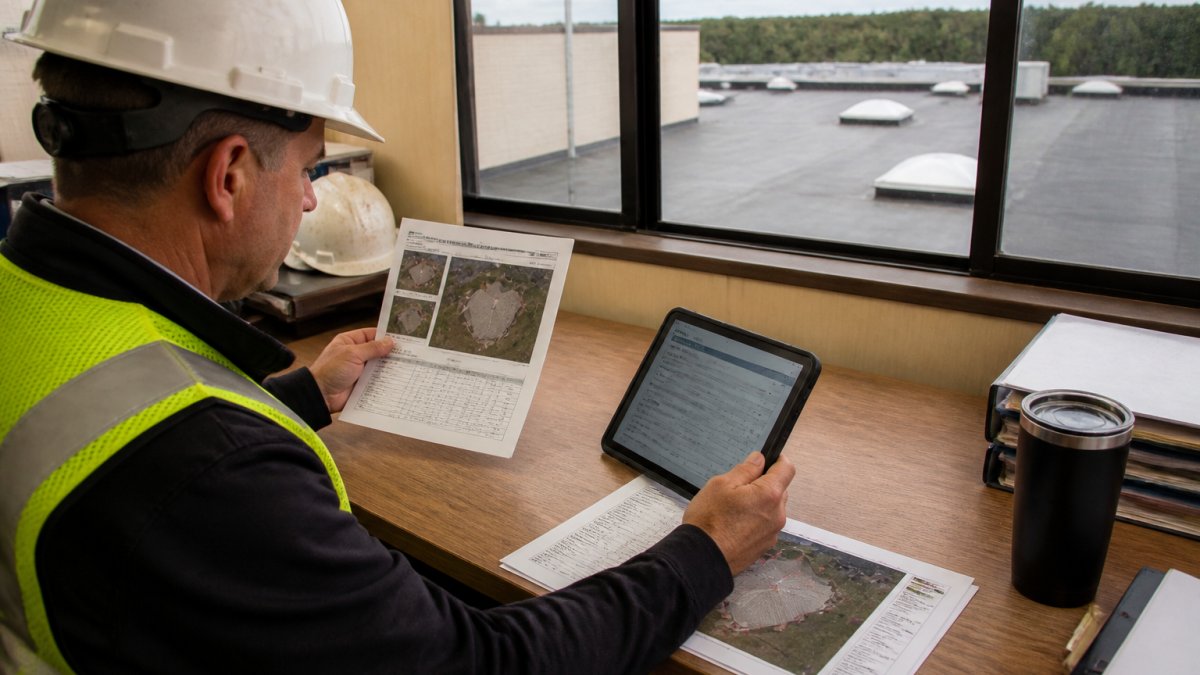
A defensible takeoff follows a fixed sequence; skipping steps is how bids go wrong:
- Confirm total roof area and convert to roofing squares (divide by 100)
- Apply the waste factor for your roof complexity
- Pull linear footage per edge type and match it to flashing and trim quantities
- Add roof features: curbs, skylights, drains, and penetrations each carry their own material and labor
- Cross-check against architectural plans where available
- Log your assumptions so the bid is auditable
Verify Measurements Before You Order Materials
Verification is the step most contractors skip. Compare the report's total roof area against the architectural footprint and flag any gap larger than your stated tolerance. If the numbers diverge, request the source imagery and re-check before ordering. A few minutes of cross-checking beats a return trip for materials.
Measurement Workflows for Commercial Buildings and Multi-Structure Sites
Commercial sites break the residential playbook: one address can hold several roof sections at different elevations, pitches, and conditions, and access is often the binding constraint. The workflow that holds up: measure each structure separately, label sections clearly, and keep a consistent naming scheme across the portfolio. That structure lets you compare bids, track changes, and hand data to a takeoff without rework. For multi-structure sites, see the guide to drone construction progress tracking services.
Handling Large, Multi-Section Roofs
A large commercial roof is rarely one plane. It is a set of planes separated by parapets, headwalls, expansion joints, and mechanical curbs, and each break is a measurement boundary. A workflow that survives comparison looks like this:
- Divide by structure, then by section. Treat each building or distinct roof area as its own measured unit. Never blend a low-slope warehouse section with a steep-slope office section into one area total.
- Name sections against the plan. Use the plan's grid lines, building labels, or roof-plan callouts so report and drawings speak the same language.
- Measure every edge type per section. Eaves, rakes, ridges, hips, valleys, and headwalls should be totaled per section, not per site, so flashing and trim quantities allocate correctly.
- Itemize features per section. HVAC curbs, skylights, vents, drains, and parapet walls each carry their own material and labor; per-section counts make a takeoff defensible.
- Record elevation and pitch per section. Elevation affects access, staging, and safety planning; pitch affects material counts and waste.
Access Constraints and Complex Roof Plans
Access is where commercial measurement projects fail. Dense HVAC clusters, parapet walls, screen walls, and rooftop equipment obscure roof planes from above, and courtyards or stepped elevations hide sections from a single flight path. Plan the capture around the obstructions:
- Fly multiple passes at different angles and altitudes so no plane is measured only from a grazing view.
- Use oblique imagery to see vertical faces such as headwalls and parapets that a straight-down view flattens.
- Flag any area where the model had to interpolate, and treat those dimensions as lower-confidence until verified.
Measurement Tolerances and When to Verify in the Field
No single accuracy figure applies to every roof. Expected accuracy depends on image resolution, flight overlap, ground control points, and how much of the roof is obstructed.
Field verification is the right call when:
- A section is obscured by canopy, equipment, or a screen wall.
- The report's area diverges from the architectural footprint by more than the stated tolerance.
- The roof condition itself matters to the scope, not just the geometry.
Remote measurement reduces roof access, a real safety benefit, but it does not eliminate situations where a site visit, safety plan, or local requirement still applies. The report should make clear which numbers are measured and which are inferred.
From Report to Takeoff, Bid Documents, and Project Handoff
A construction-ready deliverable moves into estimating without re-keying. Useful formats include:
- A per-section summary table with area, squares, pitch, and edge totals that can be pasted into a takeoff sheet.
- A roof plan or section outline file that can be overlaid on the architectural plan.
- Annotated imagery tied to the same capture as the measurements, so a reviewer can trace a dimension to its source.
That package makes a report defensible in procurement and useful at handoff.
Request a Free Quote for Your Next Roof Report
A bid-ready report should not mean waiting a week or chasing revisions. We are FAA Part 107 certified and fully insured, and we deliver accurate roof reports with square footage and edge measurements within 24 hours using equipment like the DJI Air 3S.
Frequently Asked Questions
How accurate are aerial roof measurements compared with a manual tape measure?
Aerial and drone-based roof reports are typically within a small margin of a physical measurement, and the gap narrows as image resolution and overlap improve. Accuracy depends on image quality, roof pitch, and how clearly edges and features are captured. For commercial bids, treat the report as a strong starting number, then verify critical edge measurements on site before ordering material. Aerial roof measurement accuracy is high enough for estimating and quantity takeoff, but tolerances and waste factor still belong in your bid.
What measurements should a commercial roof report include?
A usable commercial roof measurement report should list total roof area and roof square footage, the number of roofing squares, pitch or slope per roof section, and linear footage for every edge: ridge, hip, valley, eave, rake, and headwall. It should also call out roof features such as penetrations, drains, and parapets, plus the imagery source and date. Ask for a per-section breakdown so you can tie quantities to specific areas of the building rather than one blended total.
Can drone imagery be used to measure a commercial roof?
Yes. A Part 107-certified drone operator can capture high-resolution aerial imagery and overlapping shots that support digital measurement of roof sections, surface area, and edge lengths. Drone mapping works well on large or multi-level commercial roofs where walking the surface is slow or unsafe. The deliverable is a drone roof inspection report with scaled imagery and measurement data you can carry into your estimate.
How do contractors verify aerial roof measurements before ordering materials?
Compare the report's square footage and edge measurements against the building's architectural plans where available, then spot-check key dimensions on site, especially ridge, hip, and valley lengths that drive cut waste. Confirm pitch per section, since slope changes the surface area calculation. Finally, apply your waste factor on top of the verified numbers. If a report lacks per-section detail or imagery dates, ask for a revised version before you commit to a material order.
The gap between a winning commercial bid and a losing one often comes down to whether your roof data held up. If you need reports you can price from with confidence, Lake County Aerial Solutions delivers FAA Part 107 certified aerial documentation, fully insured operations, and 24-hour turnaround on roof reports with square footage and edge measurements. Get started with Lake County Aerial Solutions and request a free quote for your next roof report.