 how-to
How to Get Accurate Roof Measurements: 2026 Guide
Table of Contents
- Why Accurate Roof Measurements Matter for Your Estimate
- Benefits of Aerial Roof Inspections for Measurement Accuracy
- How to Calculate Roof Pitch Without Climbing Up
- Manual Roof Measurement Methods: Ground, Attic, and On-Roof
- Breaking a Roof into Sections and Sketching the Layout
- Best Drone for Roof Inspections 2026: Aerial and App-Based Measurement
- Calculating Total Roof Area, Squares, and Material Waste
- Conclusion
- Frequently Asked Questions
Last Updated: October 9, 2026
Why Accurate Roof Measurements Matter for Your Estimate
Accurate roof measurements are the foundation of every reliable roofing estimate. Get them wrong, and you either overpay for materials you never use or run short mid-job. Knowing how to get accurate roof measurements protects your budget and your timeline.
Roofers price jobs by the square, not by guesswork. A roofing square equals 100 square feet of roof surface. Miss your total by a few hundred square feet, and you're off by whole squares.
The problem is that most people measure the footprint, not the roof. A sloped roof has more surface area than the ground it covers. Pitch changes everything.
Below, we'll show you exactly how to measure a roof the right way, whether you climb up, work from the ground, or use aerial imagery.
Benefits of Aerial Roof Inspections for Measurement Accuracy
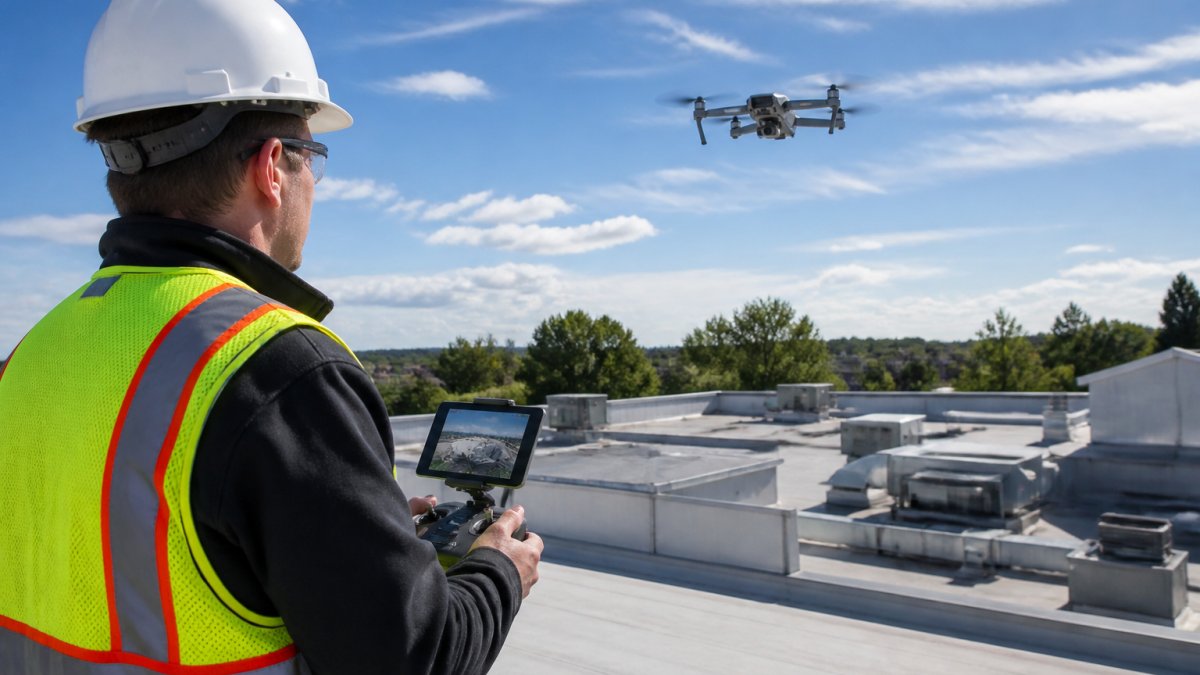
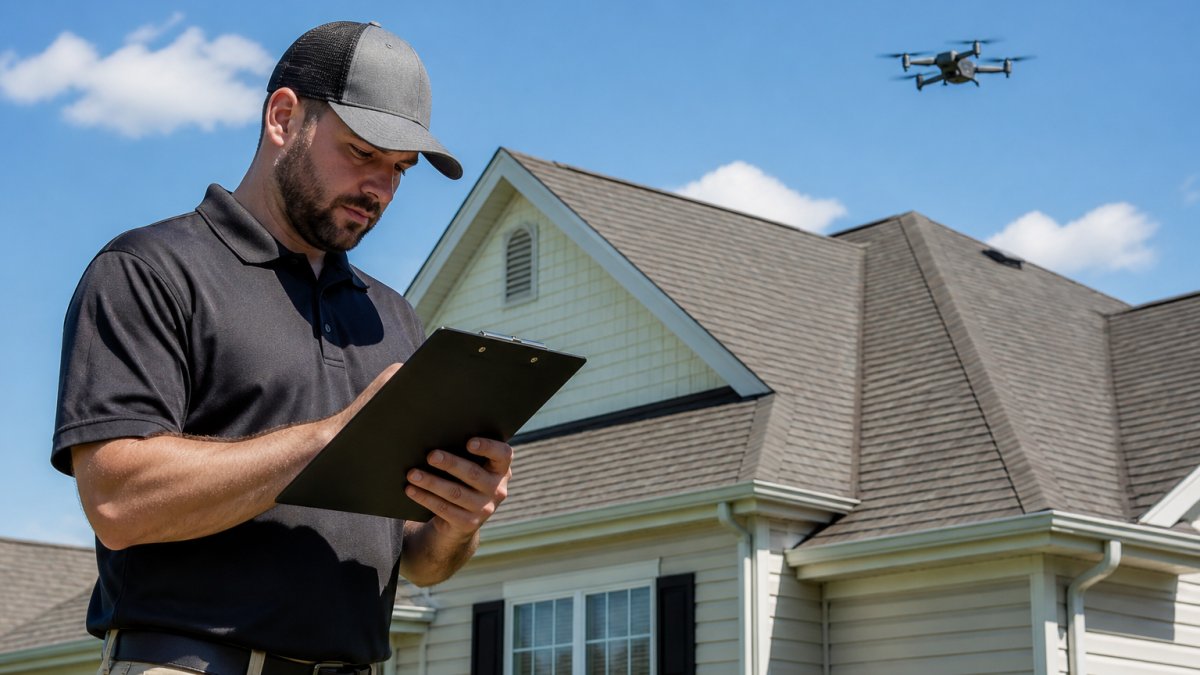
Aerial roof inspections deliver fast, safe, and repeatable measurements without anyone stepping on the roof. A drone captures the whole structure in minutes. You get the same result every time you fly the same property.
Safety and Speed Advantages
Falling is the biggest risk in roofing. Staying on the ground removes that risk entirely. A drone flight takes minutes, not the hours a manual walk-and-measure job demands.
Consistency and Documentation
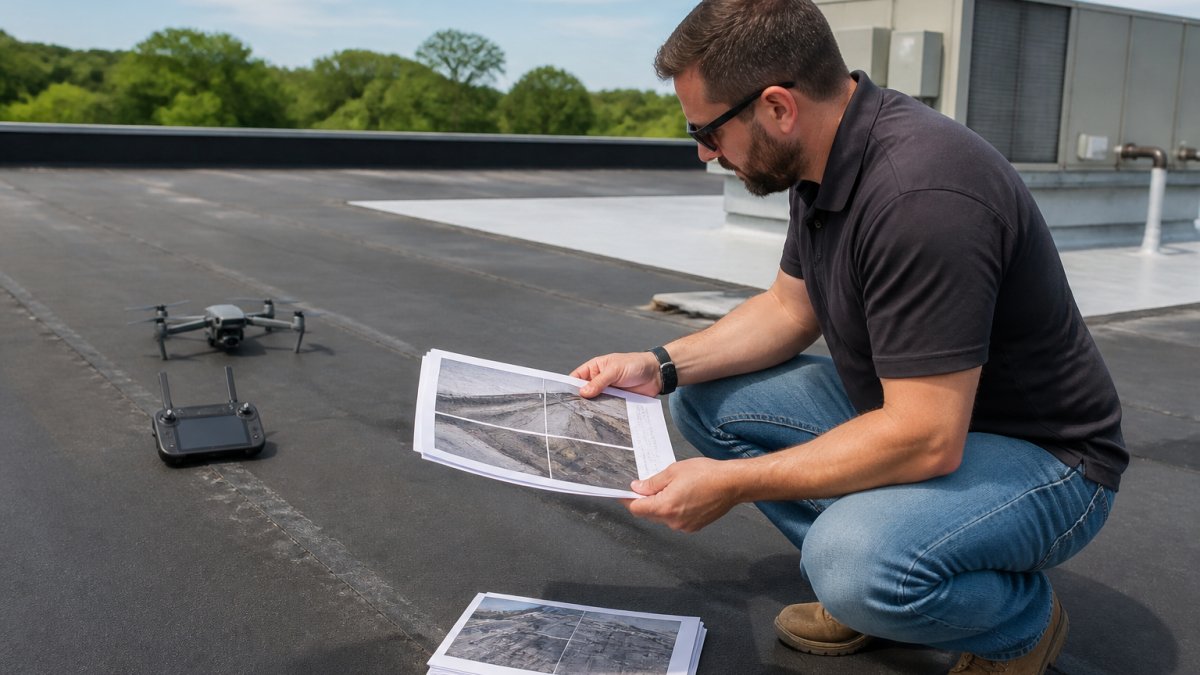
Every flight produces photos you can revisit. That record settles disputes and backs up your numbers. For property managers tracking multiple buildings, it's a simple way to keep reports consistent.
How to Calculate Roof Pitch Without Climbing Up
Roof pitch is the rise over a 12-inch run. A 6/12 pitch rises 6 inches for every 12 inches of horizontal run. Pitch matters because it drives the pitch multiplier, the factor you multiply footprint area by to get true roof surface area. Skip it and your square count is wrong before you ever order material.
Using a Level and Tape from the Attic
- Hold a 24-inch level horizontally against a rafter, bubble centered.
- Mark 12 inches along the level from the point touching the rafter.
- Measure straight down from that mark to the top edge of the rafter.
- That vertical distance is your rise. A 5-inch drop means a 5/12 pitch.
Repeat on two or three rafters across the roof. Framing is rarely perfectly uniform, and a one-inch variance between rafters is common on older homes. Average your readings rather than trusting a single rafter.
Reading Pitch from the Ground
If the attic is inaccessible, you can still get a usable pitch number from the ground:
- Framing square method: Hold a framing square against the gable rake with the long leg level and the short leg plumb, then read the rise over run directly off the rafter line.
- Photo-and-level method: Take a straight-on photo of the gable end, then overlay a level reference in a measurement app to estimate the angle. Convert degrees to pitch using the standard tangent relationship (a 26.57° angle equals 6/12).
- App or satellite estimate: Many measurement apps return pitch from aerial imagery. Treat this as a starting point only, imagery resolution and tree cover routinely cause the software to misread pitch by a degree or more.
Pitch Multiplier Table
Once you know the pitch, multiply the footprint area by the matching multiplier to get true surface area:
| Pitch | Multiplier |
|---|---|
| 3/12 | 1.031 |
| 4/12 | 1.054 |
| 5/12 | 1.083 |
| 6/12 | 1.118 |
| 7/12 | 1.158 |
| 8/12 | 1.202 |
| 9/12 | 1.250 |
| 10/12 | 1.302 |
| 12/12 | 1.414 |
A 2,000-square-foot footprint at 6/12 becomes roughly 2,236 square feet of actual roof surface. That 236-square-foot difference is more than two squares of shingles, enough to blow a material order.
Error Checking Your Pitch
- Cross-check the attic reading against a ground photo or app estimate. If they disagree by more than one pitch step, re-measure.
- Watch for cricket and valley areas, which often sit at a different pitch than the main field.
- Confirm pitch on every distinct plane, not just the front slope. Additions and porch roofs frequently run a shallower pitch than the main structure.
A pitch error throws off your entire area calculation, and it compounds once you add the waste factor. Get it right before you touch the square footage math.
Manual Roof Measurement Methods: Ground, Attic, and On-Roof
Manual measurement still works well for simple roofs. Pick your method by roof type and how safe access is. Each approach has trade-offs.
Measuring from the Ground with Tape and Level
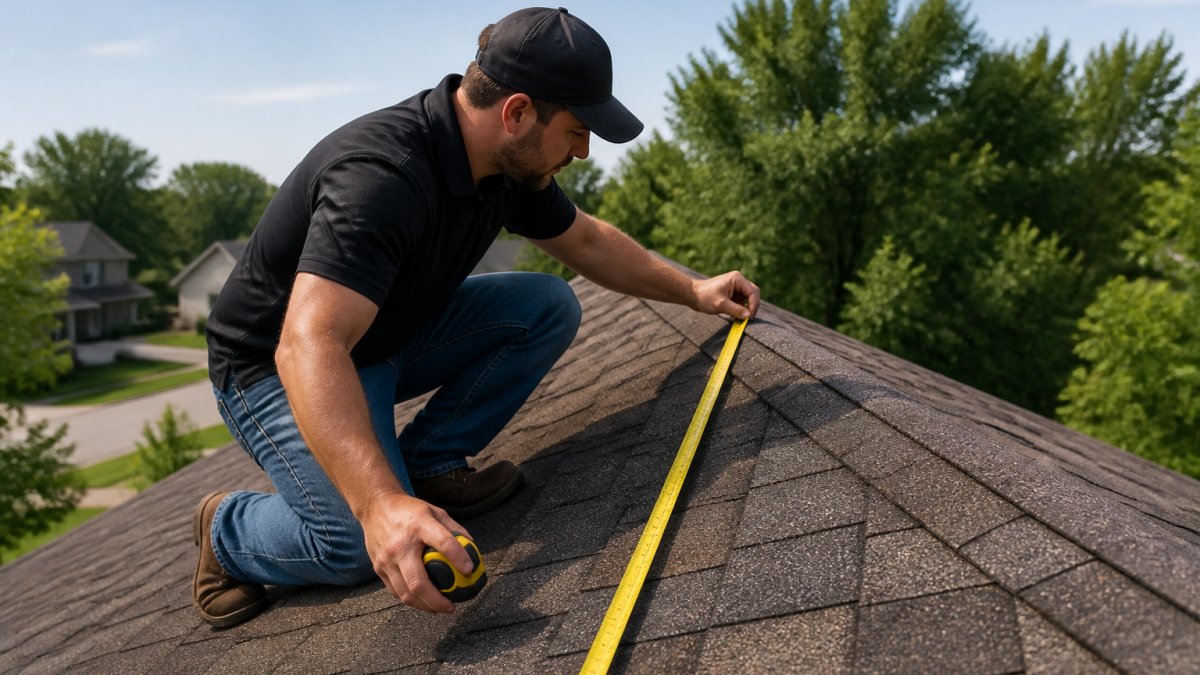
Walk the perimeter and measure the length and width of each section. Add the overhang on all sides. This method is safe but rough on complex roofs.
Attic Measurements and Rafter Math
Measure rafter length from the attic and multiply by the number of rafters. This captures true surface length without climbing outside. It works best when the attic is accessible and unfinished.
| Method | Best For | Safety | Accuracy |
|---|---|---|---|
| Ground tape and level | Simple gable roofs | High | Moderate |
| Attic rafter math | Accessible attics | High | High |
| On-roof tape | Complex, steep roofs | Low | High |
| Aerial or app | Most roof types | High | High with validation |
Breaking a Roof into Sections and Sketching the Layout
Divide any roof into simple shapes: rectangles, triangles, and trapezoids. Measure each plane on its own, then add them up. This keeps complex roofs manageable.
Measuring Length, Width, Ridges, Hips, and Valleys
- Eaves: the lower horizontal edges
- Rakes: the sloped gable edges
- Ridges: the top horizontal lines
- Hips: sloped edges that meet at a corner
- Valleys: the inward lines where two slopes meet
Sketch each plane and label its dimensions. Note every dormer, chimney, and skylight as a separate feature. A clean roof sketch catches errors before they reach your estimate.
Best Drone for Roof Inspections 2026: Aerial and App-Based Measurement
The best drone for roof inspections in 2026 needs a sharp camera, stable flight, and reliable GPS. The DJI Air 3S is a strong pick. Good hardware plus good software equals dependable numbers.
How to Validate Satellite or App Measurements
Never trust a single source. Cross-check app or satellite numbers against at least one manual measurement.
- Compare app square footage to a ground or attic measurement
- Check pitch against a level reading
- Confirm edges and overhangs on site
- Re-fly or re-measure if two methods disagree
Calculating Total Roof Area, Squares, and Material Waste
Total roof area equals the sum of every plane's surface. Multiply each plane's length by its width, add the planes together, then apply the pitch multiplier from the previous section. Convert to squares by dividing by 100.
A Worked Example
Take a simple gable roof with two identical rectangular planes:
- Each plane measures 40 feet long by 15 feet wide = 600 square feet
- Two planes = 1,200 square feet of footprint
- Pitch is 6/12, so multiply by 1.118 = 1,342 square feet of actual roof surface
- Divide by 100 = 13.42 squares
Now add a 2-foot overhang on all sides. The overhang increases each plane's dimensions before you multiply, not after, because it adds surface area on every edge. Recalculate with 44 x 17 per plane and the same roof jumps to roughly 16.7 squares. That's a three-square swing from overhangs alone, which is why measuring the footprint and stopping there is the most common estimating error.
From Squares to Material Quantities
Once you have squares, you can size the order:
- Shingles: Most asphalt shingle bundles cover about 33.3 square feet, so three bundles equal one square. A 16.7-square roof needs roughly 50 bundles before waste.
- Underlayment: Synthetic underlayment typically covers 10 squares per roll. A 16.7-square roof needs two rolls with margin.
- Starter strip: Runs along eaves and rakes. Measure linear feet of those edges and divide by the coverage listed on the product.
- Ridge and hip cap: Measure linear feet of ridges and hips, then divide by the per-piece coverage.
- Ice and water shield: Required in many jurisdictions along eaves and in valleys. Measure those linear feet separately.
Choosing a Waste Factor
Waste covers cuts, overlaps, ridge caps, and mistakes. There is no universal number, the right factor depends on roof complexity:
- Simple gable, few penetrations: 10% is a common starting point.
- Hipped roofs with multiple planes: 12-15% is typical.
- Complex roofs with dormers, valleys, and multiple pitch changes: 15-20% or more.
A common pattern is to add waste to the shingle order but not to underlayment, since underlayment waste is minimal. Confirm the manufacturer's coverage numbers on the bundle wrapper rather than relying on memory, coverage varies by product line.
Error Checking Before You Order
- Re-add every plane independently. A single transposed digit on one plane can shift the total by a full square.
- Compare your total against a second method, an app estimate, a satellite measurement, or a re-measure of one plane.
- Sanity-check the result against the home's footprint. A 2,000-square-foot home rarely has more than about 2,500 square feet of roof surface unless it has steep pitch or complex geometry.
- If two methods disagree by more than about 5%, find the discrepancy before ordering. Material shortages mid-job cost more than the extra hour of verification.
Conclusion
Getting roof measurements right takes the right method and a way to check your work. Manual measurement works, but it's slow and risky on steep or complex roofs. Aerial imagery from a certified operator solves both problems at once.
Lake County Aerial Solutions delivers FAA Part 107 certified drone photography and detailed roof reports with square footage and edge measurements, often within 24 hours. Our fully insured flights use advanced equipment like the DJI Air 3S, so you get safe, consistent data you can trust.
Request a free quote from Lake County Aerial Solutions and get accurate roof measurements for your next project.
Frequently Asked Questions
How many squares is a 30x40 roof?
A 30x40 roof has a 1,200 square foot footprint. If the roof is flat, that is 12 squares. With a 4:12 pitch, the pitch multiplier is about 1.054, so the sloped area is roughly 1,265 square feet, or 12.65 squares. Always add 10 to 15 percent for waste and cuts. Aerial measurement reports from a certified drone service can give you the exact square count.
What is the pitch of a 4:12 roof?
A 4:12 roof rises 4 inches for every 12 inches of horizontal run. That is a 4-in-12 pitch, which equals about an 18.4 degree angle. In roofing terms, it is a low to moderate slope. You can calculate it by holding a level 12 inches horizontal on the roof surface and measuring the vertical distance from the level to the roof. The pitch multiplier for a 4:12 roof is approximately 1.054.
Why are aerial roof measurements more accurate than manual methods?
Aerial measurements reduce human error from climbing, tape sag, and missed sections. A drone with photogrammetry software captures the entire roof plane and generates a 3D model, so every ridge, valley, and dormer is included. Manual tape measurements on complex roofs often miss 5 to 10 percent of the total area. Aerial reports also provide a visual record you can share with insurers or clients.
How do I calculate roof pitch without climbing on the roof?
You can calculate roof pitch from the ground using a level and tape. Hold the level horizontally against the gable end, extend it 12 inches, and measure down to the roof surface. The vertical measurement in inches is the rise over 12 inches of run. For example, 4 inches down means a 4:12 pitch. You can also use a smartphone pitch app or request a drone roof report that includes pitch data.